Essentiële gids voor het gebruik van een tuinboorder voor beginners
Het starten van je eerste tuin is een spannende onderneming, en het correct gebruiken van een tuinboor kan het verschil maken tussen een bloeiende tuin en een teleurstellend groeiseizoen. Of je nu nieuw terrein aanpakt of een bestaand perceel voorbereidt, het begrijpen van het effectief bedienen van een tuinboor legt de basis voor succesvolle teelt. Deze uitgebreide gids loopt met je mee alles wat je moet weten over het gebruik van een tuinboor, van basisvoorbereiding tot geavanceerde technieken.
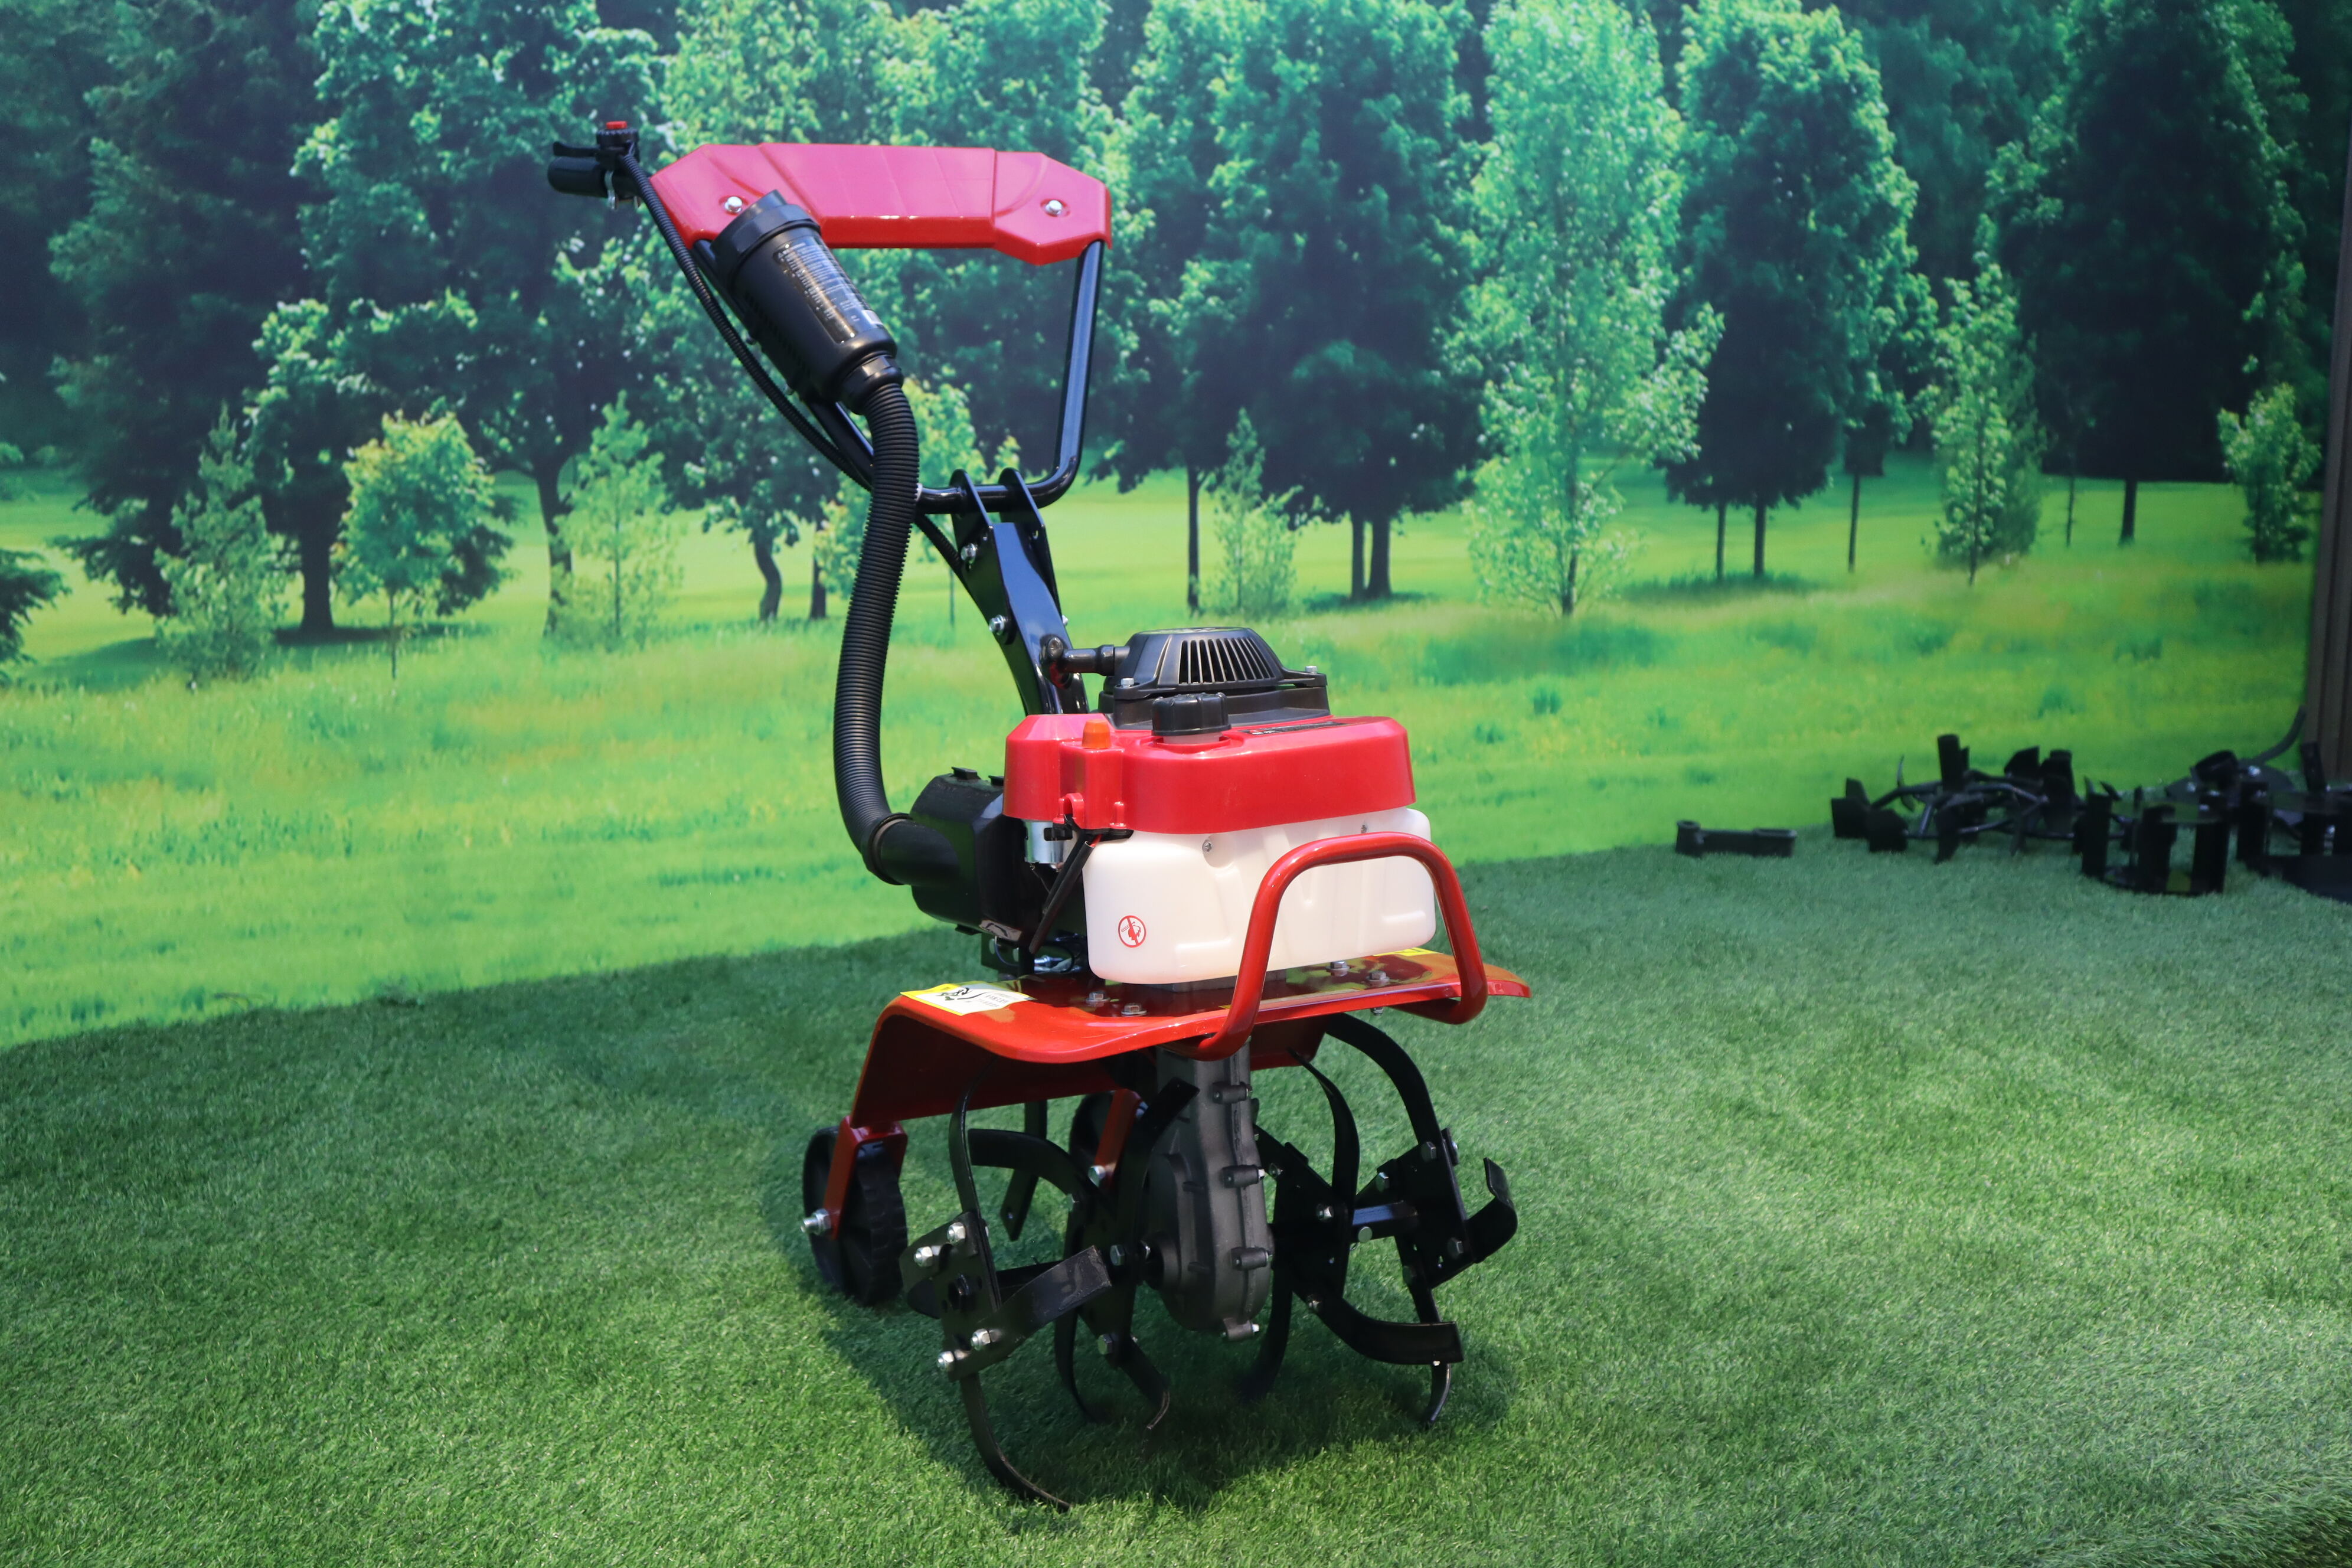
Een tuinaangraver is meer dan alleen een handig hulpmiddel – het is een essentieel stuk apparatuur dat helpt bij het creëren van het optimale groeimilieu voor uw planten. Door verharde grond los te maken, organisch materiaal te mengen en een goede drainage te creëren, helpt een goed werkende grondbewerker bij het aanleggen van de perfecte basis voor een bloeiende tuin.
Je tuinruimte voorbereiden
Eerste terreinbeoordeling
Voordat u uw tuinboor start, neemt u de tijd om uw tuin goed in te schatten. Loop het terrein grondig na en verwijdert u eventuele stenen, takken of puin die uw uitrusting kunnen beschadigen. Zoek naar leidingen of irrigatiesystemen die gemarkeerd en vermeden moeten worden. De grond moet licht vochtig zijn maar niet verzadigd – als het in klonters aan uw schoenen blijft kleven, is het te nat om effectief te kunnen ploegen.
Het testen van de samenstelling en pH-waarde van uw grond op dit moment kan u ook helpen bepalen welke aanpassingen nodig zijn zodra de ploegwerkzaamheden zijn begonnen. Dit voorwerk zorgt voor zowel uw veiligheid als de effectiviteit van uw ploegwerk.
Opschonen en Markeren van het Gebied
Gebruik paaltjes en touw om de grenzen van uw tuinperceel aan te geven. Dit helpt om rechte ploeglijnen te behouden en zorgt ervoor dat u het hele oppervlak gelijkmatig bewerkt. Als u nieuw terrein aanpakt, overweeg dan eerst het gebruik van uw tuinploeg om het bestaande gras of onkruid te verwijderen. Mogelijk zijn meerdere doorgangen nodig om dit organisch materiaal volledig in de grond te verwerken.
Houd er rekening mee dat het geploegde gebied waarschijnlijk iets zal uitbreiden buiten uw aangegeven grenzen tijdens het werk, dus houd wat extra ruimte rondom uw beoogde tuin aan.
Inzicht in de instellingen en bediening van de ploeg
Basis van diepteverstelling
Moderne tuinploegen zijn uitgerust met instelbare diepteschakelaars die meestal variëren van 2 tot 8 inch diep. Voor het eerst aanploegen van nieuw terrein, begint u met een ondiepe instelling van ongeveer 2-3 inch. Dit voorkomt dat de ploeg overbelast raakt en geeft u de mogelijkheid om geleidelijk dieper in de grond te werken. Als de grond losser wordt, kunt u de diepteschakelaar verder instellen voor volgende doorgangen.
Het type planten dat je van plan bent te kweken, bepaalt uiteindelijk je einddiepte van het ploegen. Wortelgroenten zoals wortelen en aardappelen hebben een dieper voorbereide grond nodig, terwijl oppervlakkig gewortelde planten zoals sla minder diepte vereisen.
Snelheid en krachtcontrole
De meeste tuinboomploegen bieden instelbare snelheden om verschillende bodemcondities te kunnen verwerken. Begin met een lagere snelheid wanneer je nieuwe grond omwoelt of werkt met zeer compacte grond. Dit stelt de ploegmesscheren in staat de grond goed te verbreken zonder de machine te overbelasten. Naarmate de omstandigheden verbeteren, kun je de snelheid geleidelijk verhogen voor een efficiëntere werking.
De krachtinstelling van je tuinboorploeg moet afgestemd zijn op de taak waar je mee bezig bent. Bij de eerste omwoeling van de grond is meer kracht nodig, terwijl lagere instellingen goed werken voor het mengen van bodemverbeterende middelen of de laatste grondvoorbereiding.
Juiste ploegtechnieken
Patroon en richting
Het meest effectieve ploegenpatroon bestaat doorgaans uit het werken in parallelle rijen, waarbij elke doorgang ongeveer een derde van de breedte van de ploeg overlapte. Dit zorgt voor een grondige grondbewerking zonder enige plekken over te slaan. Maak uw eerste passen in één richting, en ploeg daarna dwars in een hoek van 90 graden voor de meest grondige grondvoorbereiding.
Bij werk op hellingen moet u altijd dwars op de helling ploegen, in plaats van naar boven en beneden, om erosie te voorkomen en betere controle over het apparaat te behouden. Dit horizontale ploegenpatroon helpt bij het creëren van natuurlijke terrassen die helpen bij het vasthouden van water.
Controle en balans behouden
Een juiste omgang met een tuinbouwploeg vereist een combinatie van kracht en finesse. Houd uw armen licht gebogen om trillingen op te vangen en houd de handvatten stevig, maar niet stijf vast. Laat de machine het werk doen - ertegen vechten zal u alleen maar vermoeien en mogelijk ongelijke resultaten opleveren.
Als de motorboor begint te stuiteren of te springen, laat dan iets gas los totdat het weer rustig is. Dit wijst er meestal op dat u te snel gaat of dat de grond te hard is voor de huidige diepganginstelling.
Bodemverbetering en afrondende werkzaamheden
Toevoegen van organisch materiaal
Na de eerste keer grond omwoelen is het tijd om organische bodemverbeteraars toe te voegen. Spreid een laag van 2-3 cm compost, verouderd mest of ander organisch materiaal over het bewerkte gebied. Gebruik uw tuinboor op een gemiddelde diepganginstelling om deze materialen goed door de grond te mengen. Dit verrijkt de bodemstructuur en levert essentiële voedingsstoffen voor uw planten.
Overweeg het toevoegen van specifieke bodemverbeteraars op basis van de resultaten van uw bodemanalyse en de soort planten die u wilt kweken. Zandgrond profiteert van extra organisch materiaal om het water vast te houden, terwijl kleigrond verbeteraars nodig heeft om de afwatering en beluchting te verbeteren.
Afrondende voorbereiding van de grond
De laatste doorgang met uw tuinkwetsbare moet erop gericht zijn een glad en gelijkmatig oppervlak te creëren voor het planten. Gebruik een ondiepe die instelling en een lage snelheid om eventuele resterende kluiten te verbreken en de grond gelijk te maken. Dit is ook het moment om verhoogde beds of rijen aan te leggen, indien gewenst, waarbij u de kwetsbare gebruikt om de grond te vormgeven volgens uw tuinplan.
Laat de grond enkele dagen rusten na de laatste bewerking alvorens te planten. Dit geeft nuttige micro-organismen de tijd om zich opnieuw te vestigen en helpt bodemdichting te voorkomen.
Essentiële veiligheidsmaatregelen en onderhoud
Persoonlijke bescherming
Draag altijd geschikte veiligheidsuitrusting bij gebruik van een tuinkwetsbare, inclusief gesloten schoenen, lange broek, veiligheidsbril en gehoorbescherming. Handschoenen zorgen voor een betere grip en beschermen uw handen tegen trillingsvermoeidheid. Vermijd losse kleding die in de machine zou kunnen verstrikt raken.
Neem tijdens langdurige ploegwerkzaamheden regelmatig pauzes om vermoeidheid te voorkomen, wat kan leiden tot ongevallen. Blijf goed gedehydreerd en let op de signalen van uw lichaam, vooral wanneer u werkt in warme weersomstandigheden.
Uitrustingszorg
Regelmatig onderhoud van uw tuinfrees zorgt voor een veilige en efficiënte werking en verlengt de levensduur. Controleer en reinig de tanden na elk gebruik en verwijder eventuele omgewaaide vegetatie of vuil. Zorg ervoor dat alle bouten en bevestigingsmiddelen goed vastzitten en smeer bewegende onderdelen volgens de aanbevelingen van de fabrikant.
Bewaar uw ploeg op een droge, overdekte plek wanneer u deze niet gebruikt, en voer grondig onderhoud uit aan het begin en einde van elk groeiseizoen. Dit omvat oliewisseling, het schoonmaken of vervangen van de luchtfilter en het slijpen of vervangen van versleten ploegbladen.
Veelgestelde Vragen
Wat is het beste vochtgehalte van de grond voor het ploegen?
De ideale grondvochtigheid voor het gebruik van een grondboorder is wanneer de grond licht vochtig maar niet nat is. Als je een handvol grond knijpt en deze makkelijk uit elkaar valt, is het perfect om te ploegen. Als het een strakke bal vormt of plakkerig aanvoelt, wacht dan totdat het verder is opgedroogd.
Hoe diep moet ik ploegen voor verschillende plantensoorten?
Voor de meeste groentetuintjes is een ploegdiepte van 15-20 cm voldoende. Wortelgewassen zoals wortelen en aardappelen profiteren echter van een diepte van 20-25 cm. Oppervlakkig wortelende planten zoals sla en kruiden hebben slechts 10-15 cm geploegde grond nodig.
Hoe vaak moet ik mijn tuin ploegen?
De meeste tuinen vereisen slechts één keer per jaar grondig ploegen, meestal in het voorjaar vóór het planten. Eventueel is licht ploegen nodig bij het mengen van bodemverbeteraars of het voorbereiden van opeenvolgende plantingen. Te veel ploegen kan de bodemstructuur echter beschadigen, dus ploeg alleen wanneer dat echt nodig is.